Learn How To Fix A Hole In A Knitted Item and reuse it instead of throwing it in the trash. Follow the steps above.
Instead of discarding them completely, it is better to repair them using some simple techniques, as it can help in restoring both durability and appearance. Discover a detailed guide on fixing a hole in a knitted item, perfect for both novice and experienced knitters.
How To Fix A Hole In A Knitted Item
1. Assess the Damage
Before the repair process is completed, properly assessing the hole is quite important-
Size of the hole: Holes that are 1-5 stitches wide can be fixed by duplicate stitching or simply weaving. Large holes might need patching or darning.
Type of yarn: Properly matching the colour and the fibers with the original yarn makes the repair process simpler and more seamless.
Location: The conspicuous areas, like the chest of the sweater, might require proper and neater repair, whereas hidden spots can be reinforced for strength over aesthetics.
Tip: Examine the edges of the hole. If the stitches are fraying, then securing them with a safety pin or a locking stitch marker helps in preventing the damage from growing.
2. Gather the Right Tools
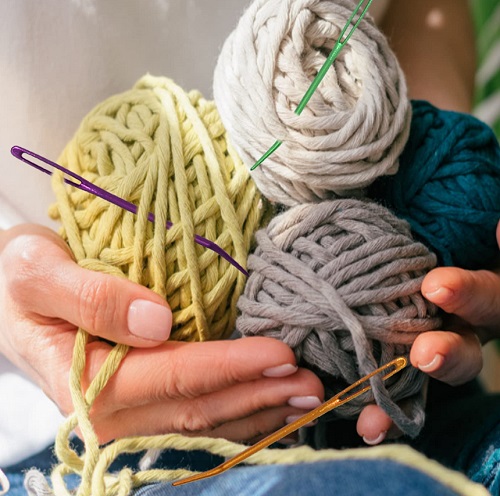
The tapestry needle or darning needle with a blunt tip is required for a successful repair.
Decorative visible mending can be done using matching yarn, or embroidery thread can be used.
Small scissors
A darning mushroom or a small bowl can be used to provide support beneath the fabric.
Though optional, a Crochet hook helps in picking up dropped stitches.
3. Methods to Fix a Hole
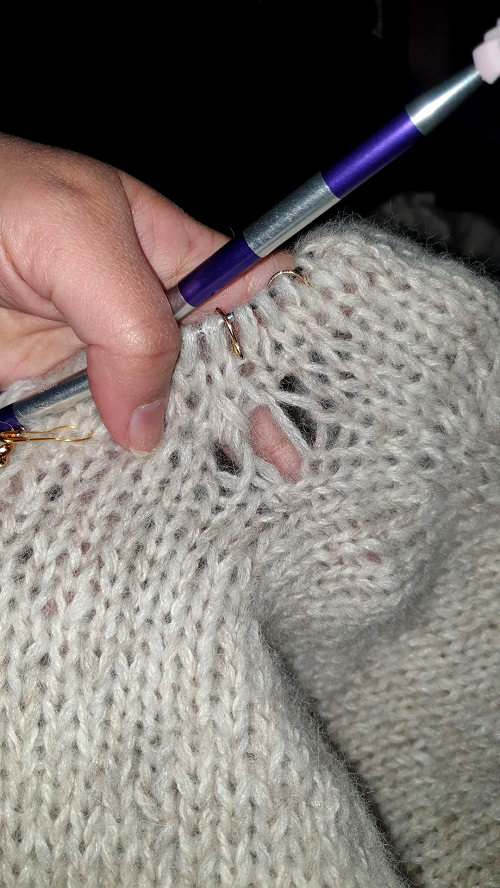
- Duplicate Stitch (Best for Small Holes)- The most recommended stitch for small holes is duplicate stitch where a few stitches might be a little loose. It required tracing the original knit stitches with yarn.
Steps:
a. Thread the tapestry needle with the matching yarn.
b. Begin with a few stitches away from the hole and follow the path of each knit by mimicking its shape.
c. Secure the loose edges of the hole by properly working the duplicate stitches over them.
d. Weave in the ends on the inside of the garment.
Note: It is only suitable for small holes.
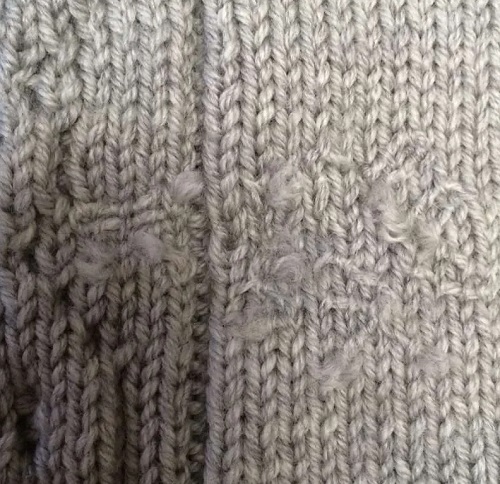
- Darning (Traditional and Durable)
For larger holes or more friction-prone areas like elbows or sock heels, the darning method works best for weaving a patch over the hole.
Steps to take:
a. For support, keep the hole stretched over a small bowl or a darning mushroom.
b. Use a needle and yarn to make vertical stitches across the hole, securing the stitches at the edges to the solid fabric.
c. To create a woven patch, properly cover the hole with vertical strands and then weave horizontal stitches through them.
d. Inside the garment, secure and trim the ends.
Note: The Patch might be slightly visible unless color-matched perfectly.
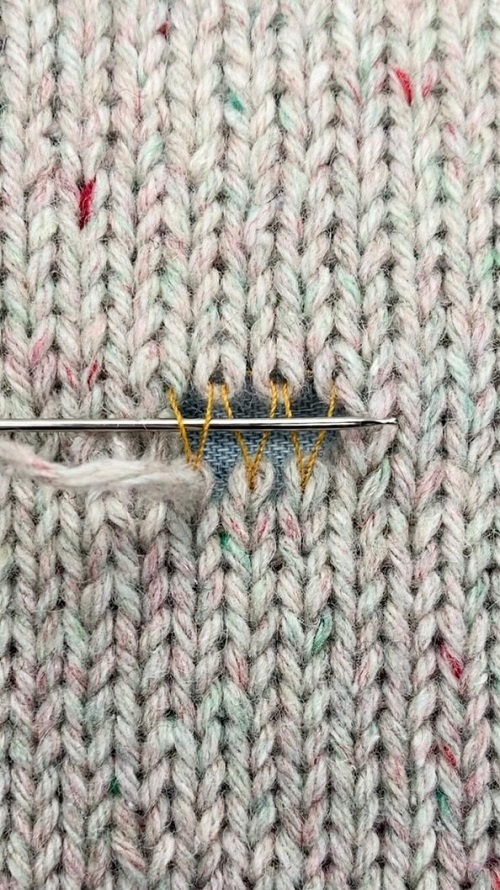
- Grafting or Kitchener Stitch (For Lost Stitches in Knitting)
When the stitches drop due to the hole, then for rebuilding the fabric, one can graft new stitches.
Steps:
a. Using a crochet hook, create dropped stitches.
b. Use matching yarn for grafting stitches across the gap with Kitchener stitch.
c. Carefully secure the edges and weave in the ends.
Note: It requires intermediate knitting skills.
- Decorative Visible Mending (Creative Option)
For matching the original yarn correctly, one should try turning the hole into a decoration. Visibly mending helps in adding charm and character to the garment.
Ideas:
a. Embroidering flowers or geometric shapes over the hole for decoration.
b. Use colorful yarn for creating a bold darn or patch.
c. Adding small knitted appliqués like hearts or stars makes it more beautiful.
Note: Not invisible and might not suit formal garments.
4. Secure and Finish the Repair
After fixing the hole, the yarn end needs to be woven on the inside for a better finish.
The area is blocked with steam or water to help the stitches settle.
If you notice thinning yarn, then weak spots need to be supported to prevent future holes.
5. Prevent Future Holes

Storing knitwear carefully helps in avoiding moth damage; use lavender sachets or cedar blocks.
According to the provided care instructions, wash knits gently to avoid fiber stress.
Rotate wear to avoid friction spots forming on elbows or underarms.