Learn how to seed stitch with easy steps. Create a flat, textured fabric that’s perfect for scarves, blankets, and many knitting projects.
Seed stitch is one of the easiest and most useful knitting stitches to learn. It creates a textured fabric that looks the same on both sides and does not curl. With just knit and purl stitches, you can make scarves, blankets, and many other cozy projects.
What is Seed Stitch?
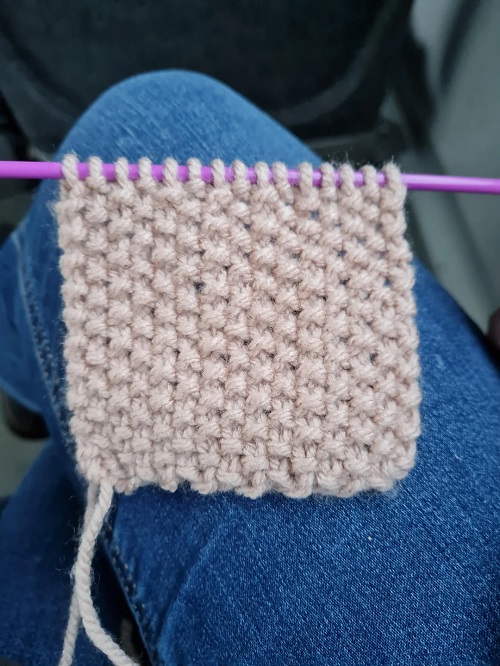
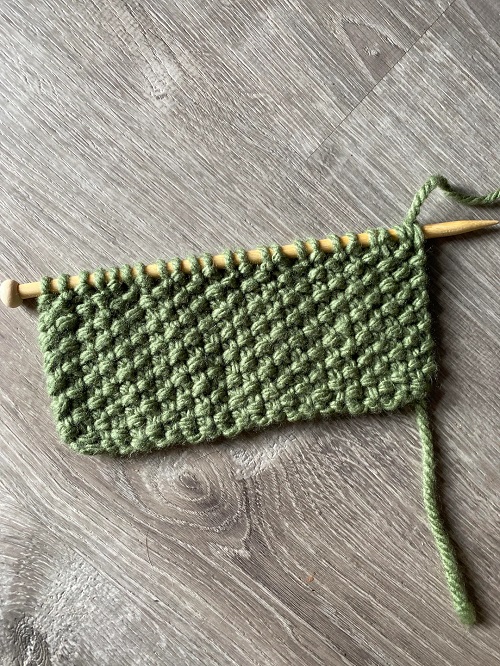
Seed Stitch is reversible and lies flat, making it simple and ideal for various projects. It is formed by alternating knit & purl stitches, typically by knitting the first stitch, purling the second & repeating this sequence across the rows. Thus, creating a textured, bumpy fabric resembling scattered seeds, therefore the name.
How to Seed Stitch?
Materials Required
- Yarn of your choice
- Needles adapted to your thread size
- Wool needle for finishing
- Scissors
Step-by-step guide
Step 1: Cast on an even number of stitches.
Keep the total number of stitches even to respect the seed stitch pattern. You can use any cast technique you like, but a standard longtail cast-on works perfectly in this case because it is neither too stretchy nor too solid for this pattern.
Step 2: Knit 1, Purl 1 across all stitches of the first row.
After casting, turn your work around, and bring the yarn to the back. Then, knit into the first stitch, bring the yarn to the front, and purl the next stitch. Repeat until the end of the row, and remember to keep getting the yarn back and forth as required.
Step 3: Purl 1, Knit 1 across all stitches of the second row.
On the way back, repeat exactly the other way round and start with a purl stitch, followed by a knit stitch, purl, knit, and so on.
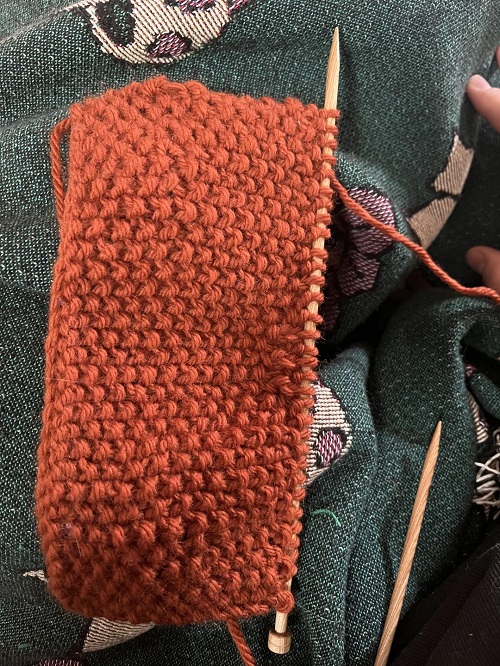
Step 4: Repeat those two rows until you have reached the desired length.
Tip to remember the stitch- every odd-numbered row starts with a knit stitch and every even-numbered row with a purl stitch. Or you could just easily lead with a knit stitch on the right side and a purl stitch on the wrong side.
Tips for a perfect seed stitch
- Maintain even tension for a uniform fabric
- Always keep an even number of stitches
- If you drop a stitch, use a crochet hook to pick up the work.
- You can anytime block your finished work to open the pattern.
Common mistakes and fixing them
- Knitting the same stitch twice in a row instead of alternating. To fix them, place markers every two stitches to help you find your way.
- Uneven tension causes creases, and to correct them, you need to relax your hands and knit slowly with regular movements.
Best Projects for Seed Stitch
Seed stitch is an excellent choice for projects that need a flat, neat fabric. It doesn’t curl like stockinette stitch, so it’s perfect for scarves, blankets, borders, cuffs, and dishcloths. The texture adds interest while keeping the fabric sturdy and flexible.
Shading with Seed Stitch
You may have seen shading in pencil drawing—sometimes it’s done by pressing harder or softer, and sometimes by using patterns like dots or lines. You can use a similar idea with the seed stitch in knitting or embroidery.
To create shading, start by spacing your seed stitches far apart so the fabric looks light and airy. Then, as you move along, place the stitches closer together to make the area look darker or fuller. This way, you slowly “fill in” the space, just like shading with a pencil.
Another method is to build the shading in layers. Begin with scattered stitches at the bottom, then add more stitches as you go up, increasing the density. Once you finish, you can work in the opposite direction—moving upward and layering new stitches over the first set to make the shading deeper.
You can also play with variations of the seed stitch for interesting effects. For example:
- Start with single seed stitches for a light, scattered look.
- Switch to double seed stitches (pairs of stitches) to add more weight.
- Finish with sheaf stitches or another textured variation to give the darkest, boldest shading.
This technique is especially fun if you want to add depth, gradient effects, or a sense of dimension to your knitted or embroidered projects.